How to Change the Blade on a Makita Miter Saw
Ever felt any wobbling while woodworking? Or any binding on guard? Hence, you must inspect the blade under the guard and see if it needs any changes. If you have a Makita miter saw, then replacing the blade is much easier. Makita miter saw has a 10-inch body that can cut 4×4 piece of wood much quicker than others. But the saw blade does the job only when it’s not dull or damaged. Here a question arises, how to change the blade on a Makita miter saw? Well, you can change the edge by yourself. Therefore, you have to go through some steps that will make your installation much easier and faster.
Have a look!
Things you need to do before replacing the blade
If you are up to a woodworking project, you have to be prepared first. For Makita miter saw, the preparation is more straightforward than that of a project. Therefore, you must assure these facts- choosing the blade, tools needed for the replacement, and check the connection.
Choosing the blade
Most of the miter saw blade differs for the work methods. So, before buying any, be specific about what you need and will the edge fulfill the need. Dig the details of your blade type and only after that purchase it.
If you want the blade for DIY jobs, a steel blade will be a decent choice. Otherwise, a carbide-tipped blade will be a wise decision.
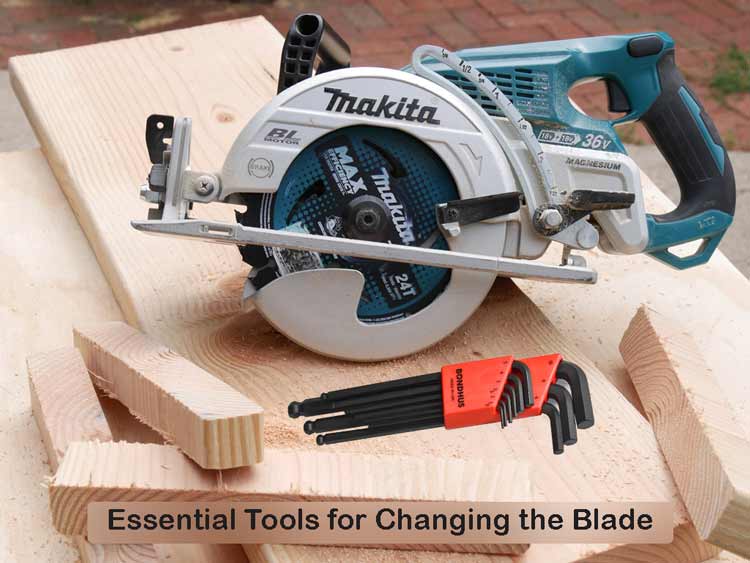
Tools needed for the replacement

Read the manual first to identify the places where you are going to work. Then choose the tools you will need throughout the process. Here’s our view on it-
- Hex wrench,
- Allen wrench,
- Piece of wood.
Checking the connection
Tiny mistakes can be the worst nightmare for you, especially when it’s the miter saw. Therefore, be aware that the power cord is unplugged, and the blade guard is not wobbling. Only after that, move on to replace the blade.
How to Change the Blade on a Makita Miter Saw – More Detail Discussion
Changing the blade is mainly an unscrewing and screwing job. To separate the blade from the Makita miter saw, you must go through the blade guard first. Also, put the wooden piece strictly under the risen blade guard.
Next, follow these steps-
- Lose the blade guard
First off, raise the blade guard and center cover-up. Lose the bolt holding the cover with a Hex wrench, but put the stopper pin on it. Then, you can move the guard down to see the parts under it. Hence, the spindle with shaft lock will be visible to you.
- Remove the guard and the blade
When you see the spindle, push the shaft lock to release it securely. Then, use the Allen wrench here, unlock the bolt at the shaft. Put the blade on the wood piece and remove the guard and outer flange slowly. After that, bring the blade out of the saw.
- Do the maintenance needed
Don’t hurry here! Do a little inspection around the inner and outer flange. Check the washers there and oil them up if needed. Your saw only works efficiently when it is fully greased up. Also, inspect the shaft bolt and flanges if anything wrong there.
- Installing new blade
Put the new blade on the spindle and keep it straight on the wood. Here, it would be best if you were precise about the direction of the blade. It has to be the same as the old one. Place the outer flange and lock it with the shaft bolt. Then, make it tighter with the wrench.
- Set the blade guard
Put the blade guard and center cover back with a hex bolt. Screw the cover and make it tighter as much as needed. Then, unpin the stopper pin, and the guard will start moving for the blade. Finally, release the shaft lock when you start your work.
Safety precautions
Being safe- it first comes to our mind when we start any project. Hence, it would be best if you also were careful about changing the blade of the Makita miter saw and follow all the woodworking safety rules.
- Put on the gloves before starting the process if you are not a pro.
- Know about the blade and miter saw parts surrounded by the blade.
- Read the manual given the saw precisely as the direction changes through the update.
- Check the blade guard if there are binding or broken places in it.
- Take a look at the center cover and outer flange if they have any blending issues.
- Please take out the bolts carefully as they can be damaged with extra pressure and keep them tighter.
- Keep the necessary maintenance needed for using the blade and the Makita saw for a long time.
Watch the video below to see how to change blade on a Makita miter saw –
Final Verdict
The blade on the saw is a mighty sword to have a smooth cut on wood. Also, it lasts as long as you keep it like one. But you have to change the blade after a particular use. Therefore, you should follow the process with the tips we mentioned earlier and reinstall the new one. I think you have enough knowledge about the question – How to Change the Blade on a Makita Miter Saw.
So, start working with your new blade!


