How to Fell a Tree Where You Want it | Advice and Guide
Falling a tree where you want it not a difficult task, but it can be dangerous. So worried about How to fell a tree where you want it?
Meanwhile, if you want to remove a tree, it’s important to use the right technique. As well as make sure you are following all safety precaution. If you ever need to drop a tree where you want, here’s how it’s done.
How to Drop/ Fell a Tree | Step by Step Guide
To fall a tree, follow this step to step guide down below.
Before you begin :
Before you start to ensure that you have all the required things with you to fall a tree.
What you need :
- A tree to fall
- A chainsaw or pole saw
- A beard (not compulsory but recommended)
Contact with the local government for permits :
Certain municipalities and states have the restriction that you have to take their permission before down the tree. Thus, search online for state ordinance. And then make sure that you have the required permit.
Safety First :
Removing the tree can be a dangerous job. Therefore, if you take it quickly, you will be in trouble. According to the Occupational Safety and Health Administration report, the death rate of people during removing the tree is higher than any other logging activity. That why Safety first.When using saw, felling, climbing or bucking trees, use these following item. They are mainly protective item.
- Helmet
- Hearing protection
- Eye and face protection
- Protective chaps
- Gloves Steel toed leather boots
- Long sleeved shirt
Step 1: Determine the Fall Path

While you ensure that you have full control over everything, plan the retreat path. Things you have to consider also.
Survey your area around the tree for structures :
First of all, take a look at your area around to ensure there are no solid structures. At the same time, keep an eye that it there any other tree around it. Things like fences, lines, and roads should be considered. So make sure the area is clean enough.
If there is lots of structure, then consider hiring a professional. In this case, we don’t recommend to do it by yourself.
Examine the tree for lean and stability :

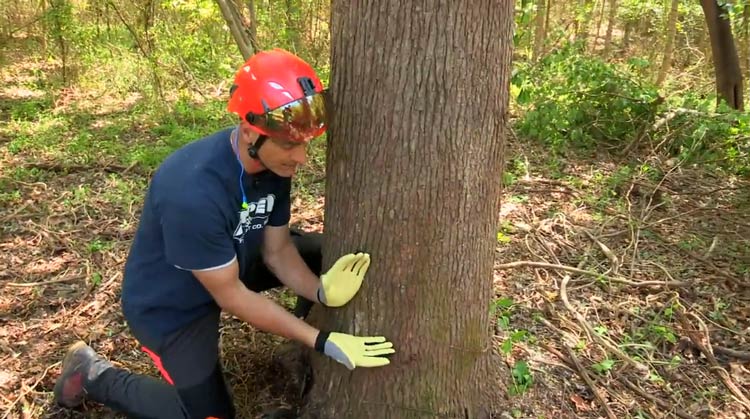
The next thing to consider that the tree you want to fall is healthy. On the other hand, it free of disease. Likewise, the cutting down technique might be unpredictable. At the same time, you have to make sure that tree isn’t leaning is in a certain direction. It is important as you can’t able to measure the direction it falls in.
Determine the fall path :
To control the fall path, you’ll cut a notch in the side of the tree that you want it to fall on.
As we mentioned earlier, the fall path should be free of roads, structure, and another tree. So, ensure there is plenty of space to fall the tree without colliding with something. Simultaneously, estimate the height of that tree. You can also use a tape to measure the distance. The area from the base to area free of the object is your fall path.
For avoiding an accident, cut a notch to control its fall path.
Clean the path near the tree :
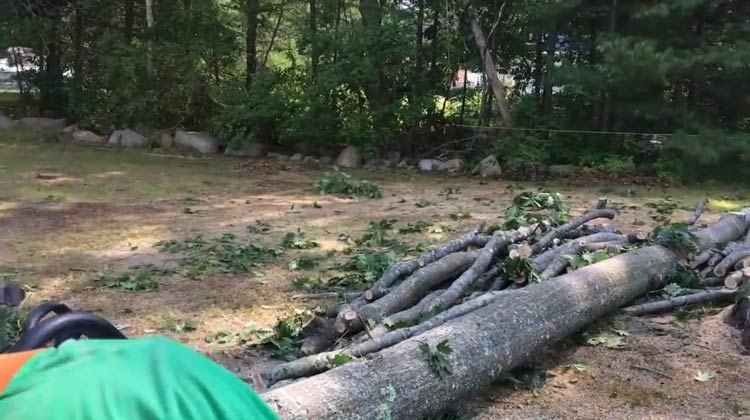
Pick up debris and sticks near the tree. You may wonder why? Well, sticks, stones, and logs could trip you when you try to get away from the removing tree. Eventually, remove anything near the tree.
Keep an escape route for after the tree falls :
While you know the area properly, plan an escape route as the tree is falling. You shouldn’t walk or stand in behind or in front of the falling tree. Hence, ensure there is a clear path to run away. Keep in mind; you should step at least 15 feet to the side of the tree.
Step 2: Choose Where to Cut
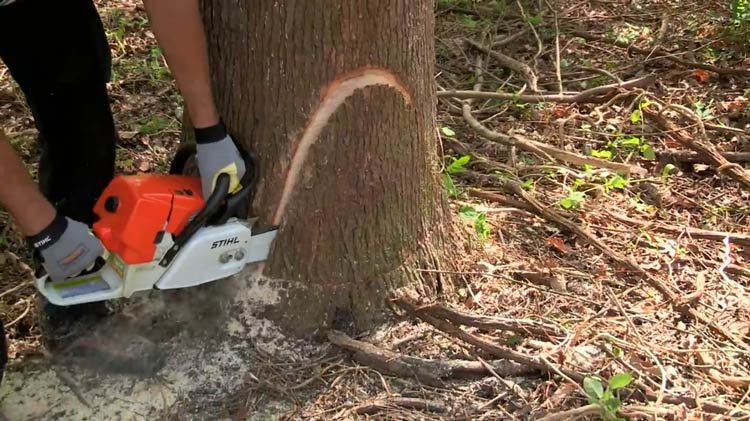
To fell the tree successfully with a chainsaw, you will need three cuts. That is two on the face as well as one on the back. Normally, the notch cut or face outcomes first. There are three different types of face cut.
Open-faced: It has a wide notch of about 90 degrees. This is the most accurate, safest notch for felling a tree.
Convention: This notch has a flat bottom and an angled top. It creates a 45-degree angle. The back cut must be about 1 inch above the bottom cut.

Humbolt: There are few similarities with conventional. This type of notch has an angled bottom cut and a flat cut. Like conventional, it will make the 45-degree angle.
You have to stand to the side of its trunk to curve the notch cut. Do not stand on the face to avoid serious injury. But if you are right-handed, place the face on right side. If you are left-handed, put the notch on the left.
You May Also Read: chainsaw milling tips
Step 3: Making the Back Cut
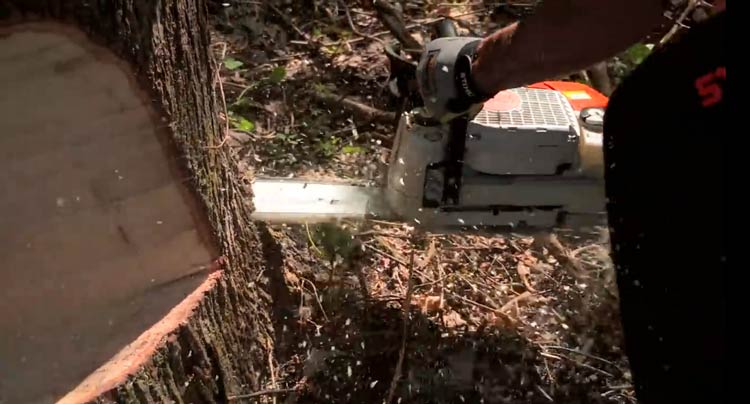
The back cut is situated at the opposite side of the notch. Usually, it disconnects all the tree from its stump. Meanwhile, it creates a hinge which works to control the fall. You should start on the side and work the way around to the back. This is useful to maintain a level angle of attack.
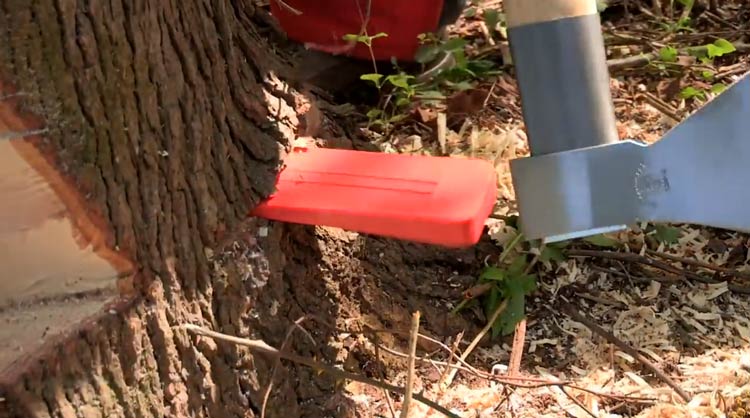
Don’t turn your back on the removing tree. Quickly back yourself away to distance of 20 feet from the tree. Always take a position behind a standing tree to protect you.
Step 4: Limbing a Tree

Once the tree is falling, remove the branches. It is called limbing.
Work carefully, and start at the base of the tree. Therefore, you cut it downward to the bottom of the bar. It is known as the pulling chain. And when it is pulled to upward with the top of the bar, it’s called pushing chain. However, it pushes the saw towards you.
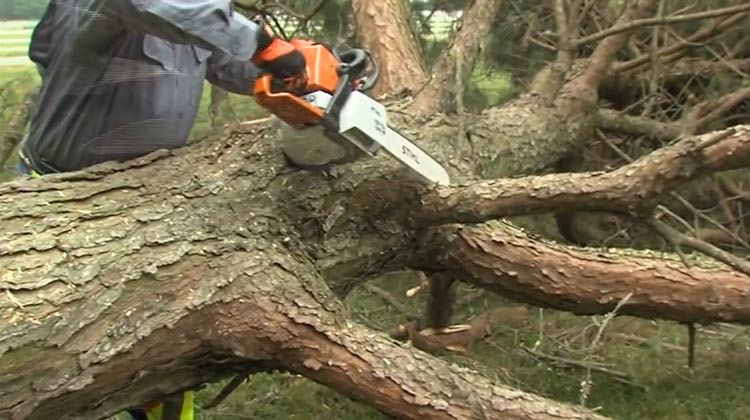
- Offsetting cuts- it leads to partial cutting on the side of the limb. Then it cut through an inch completely or close to the trunk.
- If you have a decent working height, then cut the limbs on the underside.
- Limbs under tension- it is for those that are bent under the tree as well as spring back.
- Large branches must be under great tension.
Step 5: Bucking a Tree
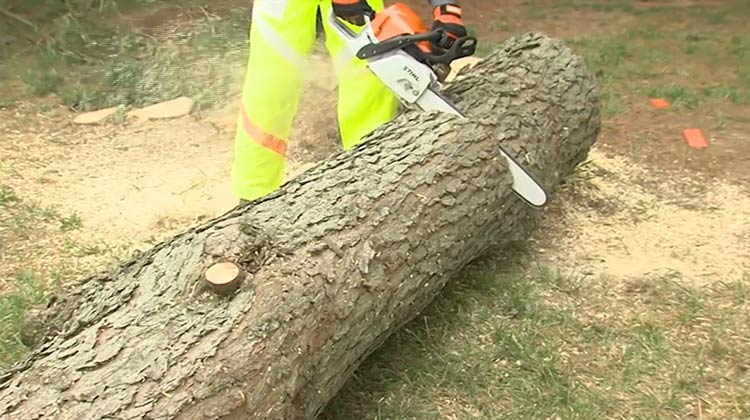
Once you have removed the limbs, it is the time to cut the trunk- called bucking. For more control, try to cut through from the opposite side by a cut offset by 1 inch. For logs supported, cut up from the bottom. Then finish your cut on top.
That’s it
Congratulation! You have felled, limbed as well as the buck a tree successful.
Our Recommended Resource:

