How To Disassemble Ryobi Pole Saw | Advanced Guide From A Expert

Whenever you need to disassemble ryobi pole saw, you need to follow our guidelines for making your task so much easier.At the same time, you also successfully have done this job as a professional.In this content, we will discuss the guidance about, how to disassemble ryobi pole saw and few of its maintenance tips.
In this case, please do this task gradually and disassemble its identical parts step by step carefully due to avoid any hazard or product damage.
So keep your eyes close on this text. Hope you will find this content is useful to you. Let’s start
Procedures : How to Disassemble Ryobi Pole Saw
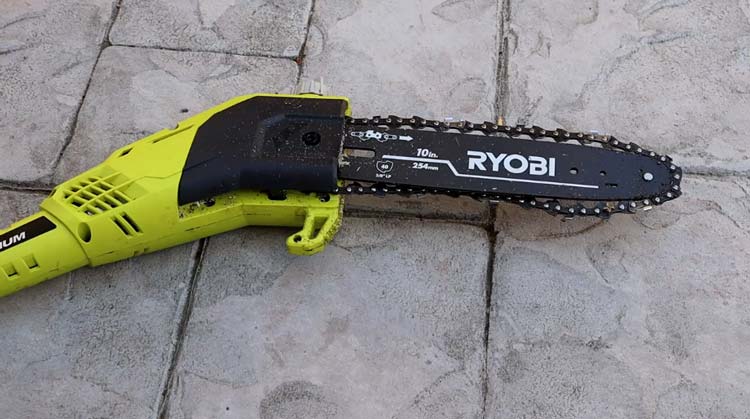
Meanwhile, you need to wear the eye protection glass and side shield protective head protector. If you don’t do this, then any object can be thrown into your upper part and create any injuries. So safety first!

One major factor that before any cleaning, inspecting and servicing the part,shut down the motor first. And carefully notice that, if all the parts stop moving or not.
After that, you need to disconnect it from the power supply. If you forget to do that, you may fall into danger and can face the personal injury.
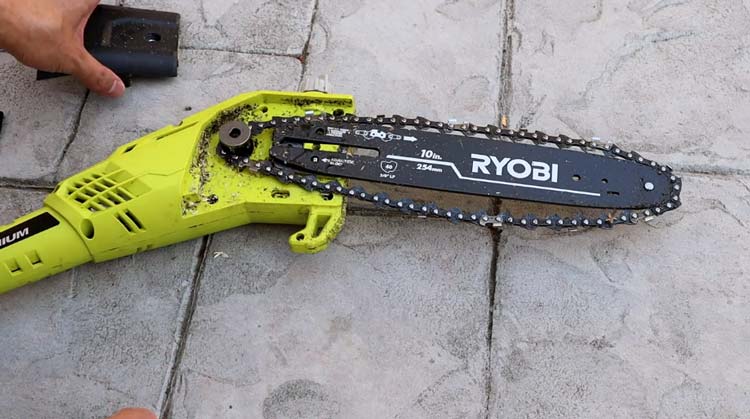
Eventually, you should not use the solvents whenever you clean the plastic units because of the plastic parts are susceptible to lose from different types of ideal solutions. So, please avoid using them, you should only use the soft cloth for reducing the oil, dirt, and dust properly.
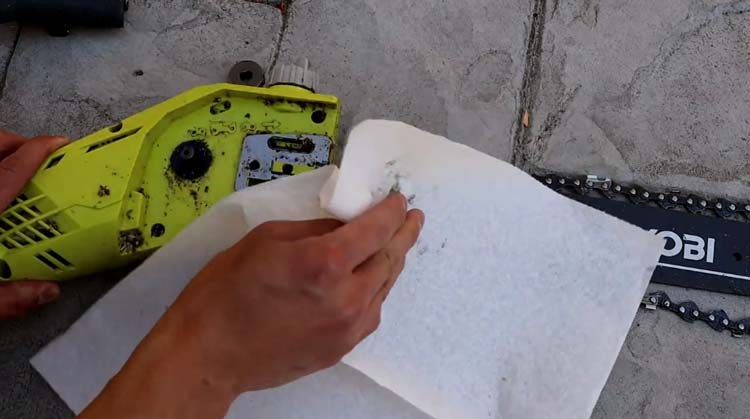
At the same time, please don’t let brake gasoline, fluids or petroleum products, etc. as it a cause’s damage on plastic parts and also can destroy the plastic parts, which is responsible for any injury.
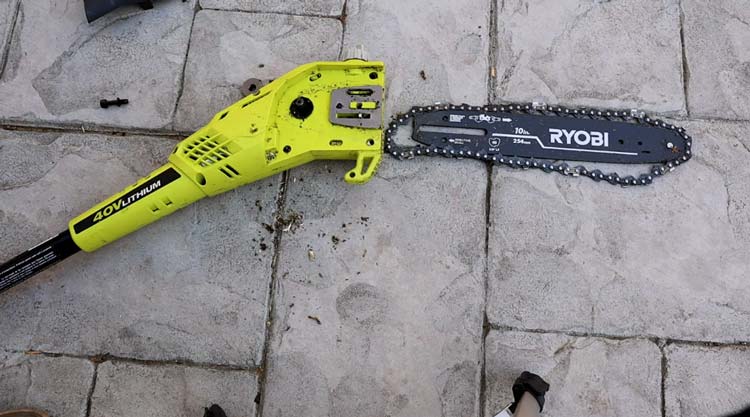
Always follow the user manuals instructions which were provided at the purchasing time. It is so much essential to develop the user manuals. For example, if you use wrong instruments to hold the saw flywheel strongly to shift the clutch, it may cause any structural damage as like the flywheel also can bust. for more information you can also read how to cut down tree limb.
Reassemble the Ryobi pole saw step by step
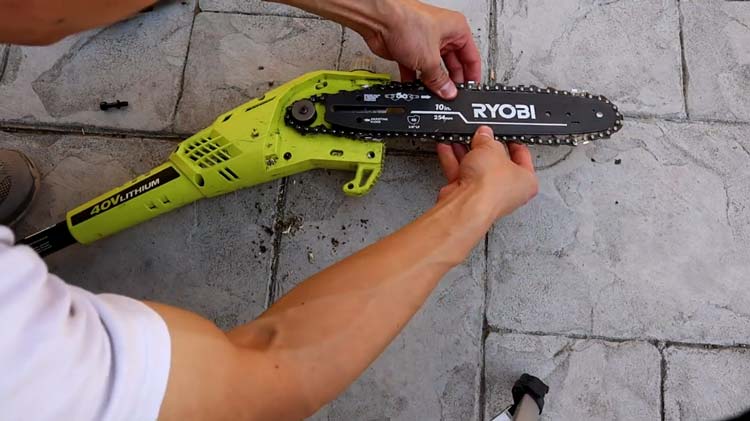
- First of all, you need to shift the bar nut which is about (7/16 in.). After that, you need to drive case the cover.

- Here in the Ryobi pole saw has one bar slot, which is fully fitted with the saw bar stud. Not only that, but the bar also has a tensioning chain pinhole, and it fits above the saw tensioning pin. Now, you need to place the bar on the bar stud. For this reason, the tensioning chain pin easily adjusts with the tensioning again pinhole.

- Now, fit the tensioning chain upon the sprocket then into the groove. Mind it, the cutters which are on the top of the saw bar need to face across the top bar, also need to select the direction as the chin rotation.
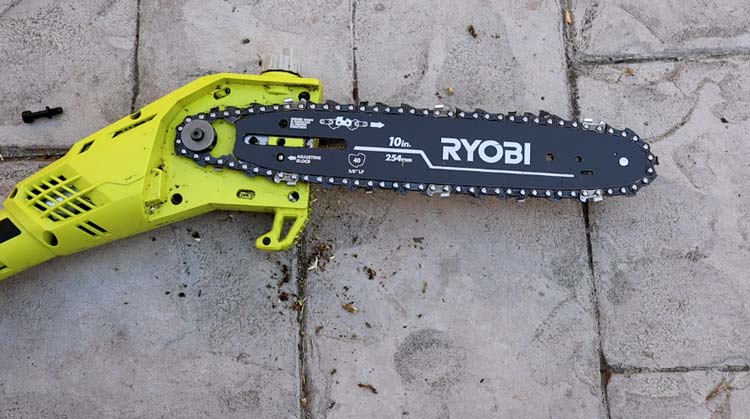
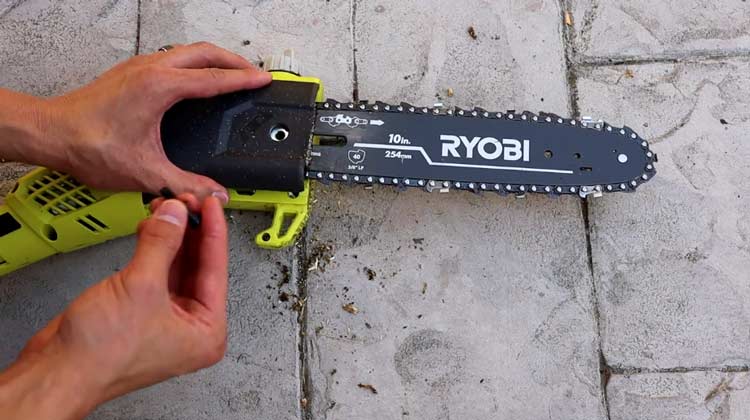
- CheckAfter that, you need to replace the case drive cover. Next, you need to install the all bar nut sequentially. Now, tighten the ball as your finger tight .for this reason, it’s now free to shift for adjusting the tension.
- CheckThen, to check the sag, you need to up the tip and also lift it. Expand the tip, and then you tend to turn out the tensioning chain screw about ½ move clockwise. You need to repeat this procedure until the sag does not exist there.
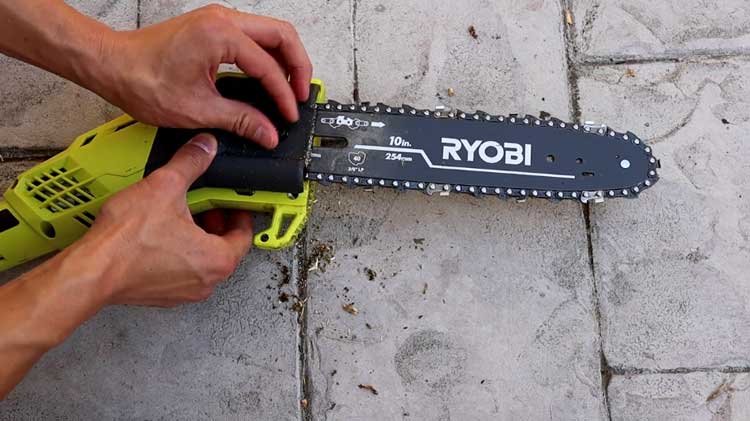
- Check now, securely tighten the nut, and at the same time, you need to hold the bar tip again. Ideally, the chain is accurately tensioned whenever there has little or no slack upon the bar underside. The chain becomes snug, but someone can be turned it without any binding.
Tips for maintenance of the tensioning chain screw:

If there is no slack, then the cold chain is perfectly tensioned. The chain becomes snug; someone can tune it by his or her hand without any binding. For doing this, the Chain should re-tension, when the flats of drive links hang out from the groove.
It has the normal operation, where the temperature of the whole chain can be increased. Then, all drive links which are connected to the tensioned string can be hanged about.050 in. The new chain needs to amplify; check the chain tension indeed and then voltage as required. The chain should be tensioned while it is warm, and it can be tighter while cooling. So, you need to monitor the cold tension.
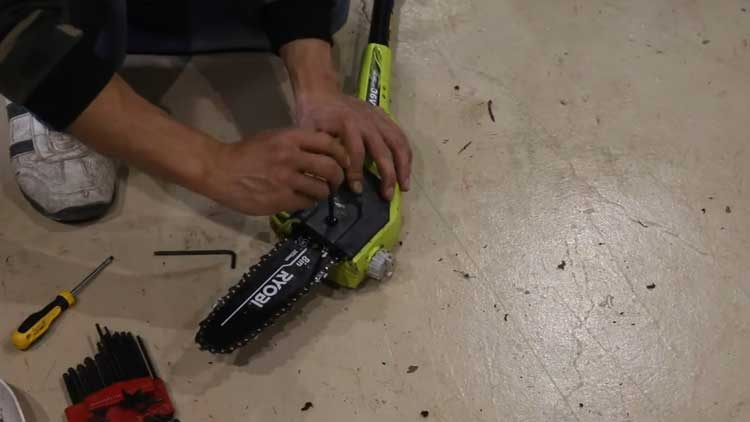
But mind that, if the string is so much tight then it may not rotate properly. In this case, you need to lose the nut slightly; then you tend to adjust the screw about ¼ shift counterclockwise. Now, lift it up, and you need to retighten it again.
Next, time to change all the slacks form the saw chain by moving the tensioning chain clockwise, for assuring that, it can easily adjust into the groove while tensioning it properly.

To avoid any hazard, you should not touch the chain or try to adjust it while it is running. Mind it the saw chain is so much shape. In this case, always wear the gloves whenever you need to maintain the chain. Not only that, you tend o off the power supply and disconnect the motor before tension the chain. Besides, confirms that guide nut is loose enough to tight finger. Move the tensioning screw as the clockwise to do it successfully.
Conclusion:
However, it is not an easy task, but if you have enough equipment, then you can do it quickly. If you have no user manual or lots of instruments to disassemble it, then we recommend you to hire a specialist, who will do it for you and you will save from any hazards. Thanks for being with us.

