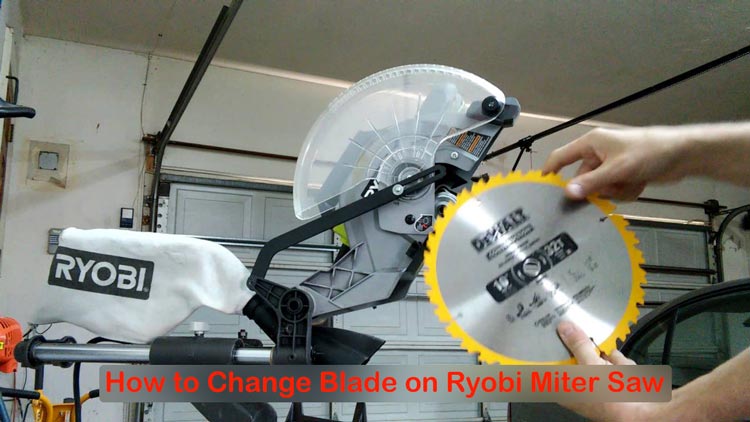
How to Change Blade on Ryobi Miter Saw for Better Efficiency
Ryobi miter saw is one of the best companions in woodworking tasks. The final outcome of your task is highly dependent on the performance of the miter saw blade. Unfortunately, the blade requires to be changed due to some issues. You may not have proper knowledge of changing the Ryobi miter saw blade. Therefore, a proper guideline on how to change blade on Ryobi miter saw can be your savior. There is no alternative without changing the miter saw blade for getting better output.
Changing the blade on a miter saw brings an effective change to its performance. The blade of the Ryobi miter saw may need to be changed for different cuts. Or, it may be due to the dull blade issue. Whatever the fact is, it’s possible to change the blade even without being a pro.
How to Change Blade on Ryobi Miter Saw – Full Process

This section will elaborate on how to change blade on Ryobi miter saw. Before getting into the main job, take some initial preparation with the necessary instruments. Besides, here you’ll be informed of some safety precautions.
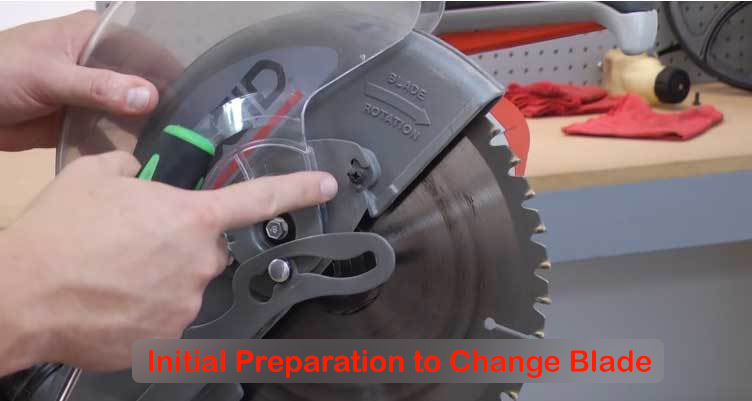
Initial preparation
First of all, you need to get a convenient workspace. A Ryobi miter saw blade can create any unexpected situation if you pick a random place to work. Secondly, it’s mandatory to get some instruments for performing your desired task. So, here you get introduced to some necessary tools.
- A new Ryobi miter saw blade
- 5 and 100 mm hex key
- A quality screwdriver
- Machine oil
- Combination square
Ensure to gather all the items before starting the main job. And, don’t forget to keep the tools assembled in an occupied place.
Steps to change blade on Ryobi miter saw
You can change the blade of your Ryobi miter saw easily by following the steps depicted below.
Step:1- Unplug the miter saw
It’s mandatory to unplug your Ryobi miter saw from the power source. All you need to do, find the cable and disconnect it from the socket. Disconnecting the miter saw doesn’t allow you to enter into the core steps. Sometimes, the blade keeps spinning after unplugging the miter saw. In that case, wait a few minutes to turn the spinning off. A spinning blade of the miter saw can create an unexpected condition.
Step:2- Bring the blade guard out
The blade guard comes for providing safety to the users. You can’t pull the miter saw blade out without removing the blade guard. It’s just a matter of pushing the lock on the blade guard. Don’t apply too much pressure while unlocking the blade guard of the Ryobi miter saw. After loosening the guard, remove the pin and you go for your next move.
Step:3- Dispel the attached bolt cover
Now, you need to find out the bolt cover which must be attached to the miter saw blade. Rotating the blade guard continuously will lead you to its screws. The bolt cover is held by the screws most of the time. At this stage, move the bolt cover and keep going until finding the hex-head blade bolt. And finally, you can remove the bolt cover then.
Step:4- Pull the old blade out
In this step, you are going to bring the old blade out of the miter saw. You need to push the spindle lock button which will lock the spindle. If you don’t push it, the blade may keep rotating and create inconvenience to dispel it. Besides, you can face severe injuries without using the spindle lock. However, you can turn the spindle using a wrench if there is a problem with the spindle lock. Move to the last step after pulling the old blade out successfully.
Step:5- Install the new blade
Technically, you can install the new blade by following the opposite process of its removal. Find out the rotation arrows marked on the miter saw blade. These arrows will help you to install the blade in the appropriate direction. Now, notice that the blade teeth are in the downward direction while installing the new blade. Tighten the bolts up in the counterclockwise rotation after placing the blade perfectly. You can use a wrench to do this precisely. Then, put the spindle cover back to its place and then go for the blade guard. Never check the miter saw before attaching the blade guard securely.
Step:6- Power the miter saw and check
Yes, you’re almost done. The final task is to check if the blade is working nicely. Connect the cable of your miter saw with the power source. If it works fine, then you deserve a clap. You may have attached the blade in the wrong manner. That will not allow the blade to rotate and perform any task. In this circumstance, you have to disassemble the blade again and follow the instructions strictly.
Safety precautions
Following some safety manners can prevent you from serious injury. Therefore, go through the following points to perform your job safely.
- Ryobi miter saw blades have extreme sharpness. So, handle it carefully. Don’t place it anywhere near your body.
- Don’t tighten the screw heavily. Otherwise, they may be broken or partially damaged.
- Wear safety goggles to protect your eyes from unwanted hits.
- Get a pair of rubberized hand gloves to protect your palm.
- You can wear ear protection in case of avoiding extreme loudness.
- Last, of all, wearing a helmet provides almost a hundred percent safety to your head.
Here we added a tutorial video for your better understanding –
You can also read 4 Practical Steps about How to Build a Miter Saw Table.
Frequently Asked Question
A few common questions arise among people over the internet on changing miter saw blades. Here are some of those questions along with quick answers.
How do you unlock a Ryobi miter saw blade?
Identify the small, cylindrical button at first which is situated above the main pivot joint. This is called a grasp pin. However, grasp it and try to pull out the lock pin. Keeping it pulled back, allow the saw arm to raise to the highest height. Then, the Ryobi miter saw blade will be unlocked.
Where is the spindle lock on a Ryobi miter saw?
The spindle lock is usually situated behind the blade guard. It is highly dedicated to preventing the Ryobi miter saw blade from rotating. You have to use this feature while removing the old blade and installing a new one.
How do you change the blade on a Ryobi 10 inch table saw?
Remove the throat plate and blade guard after disconnecting the power. Then, loosen the arbor nut of your Ryobi 10 inch table saw. It will help to disassemble the old blade. You can easily put the new blade on that place and you’re done.
How much does a miter saw blade cost?
The pricing of the miter saw blade varies from size, brand, and so on. A Craftsman 10-inch miter saw blade is priced around $33. On the other hand, a 12 inch Dewalt miter saw is priced around $54. However, this pricing may change from time to time.
Conclusion
Now you have clear ideas on how to change blade on Ryobi miter saw. It’s not difficult to disassemble the blade from the miter saw at all. Besides, it’s only a matter of time to place the new blade after eradicating the old one successfully.
Remember, you need to get to work with all the mentioned tools. If you use any faulty tool, the whole blade changing operation may become ruined instantly. In addition, you’re discouraged to start work if you’re not following safety precautions.
Installing a new Ryobi miter saw blade is all about maintaining some easy steps. All you need to do, get prepared with the instruments, follow the steps, and get done. We hope, now you can change the Ryobi miter saw blade on your own without any hassle.


